Last weekend I built a woodworking mallet out of oak.
I needed a mallet to help with assembling and banging on things without as much damage as a plain metal hammer would leave, so I built my own. Building a mallet is often used as a basic woodworking introductory project since it’s not very hard and is meant to be used.
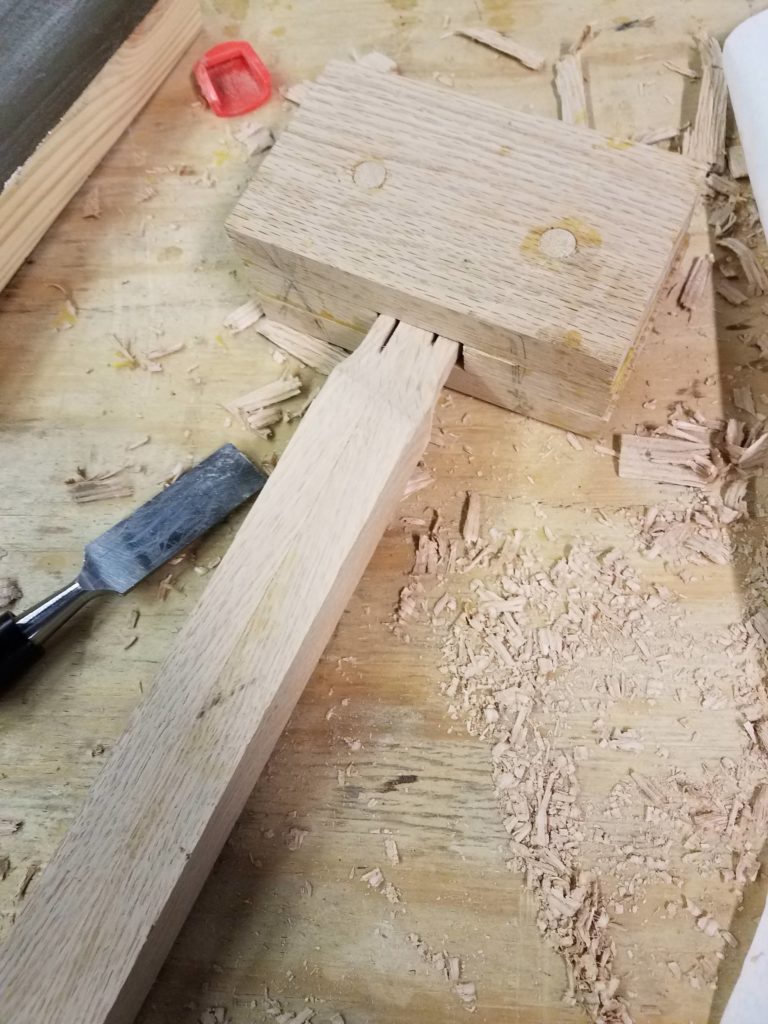
I watched a few youtube videos to get the general idea and just went for it. Basically I cut a portion of an oak board in to three lengths for the head and made a handle of two longer pieces glued up together.
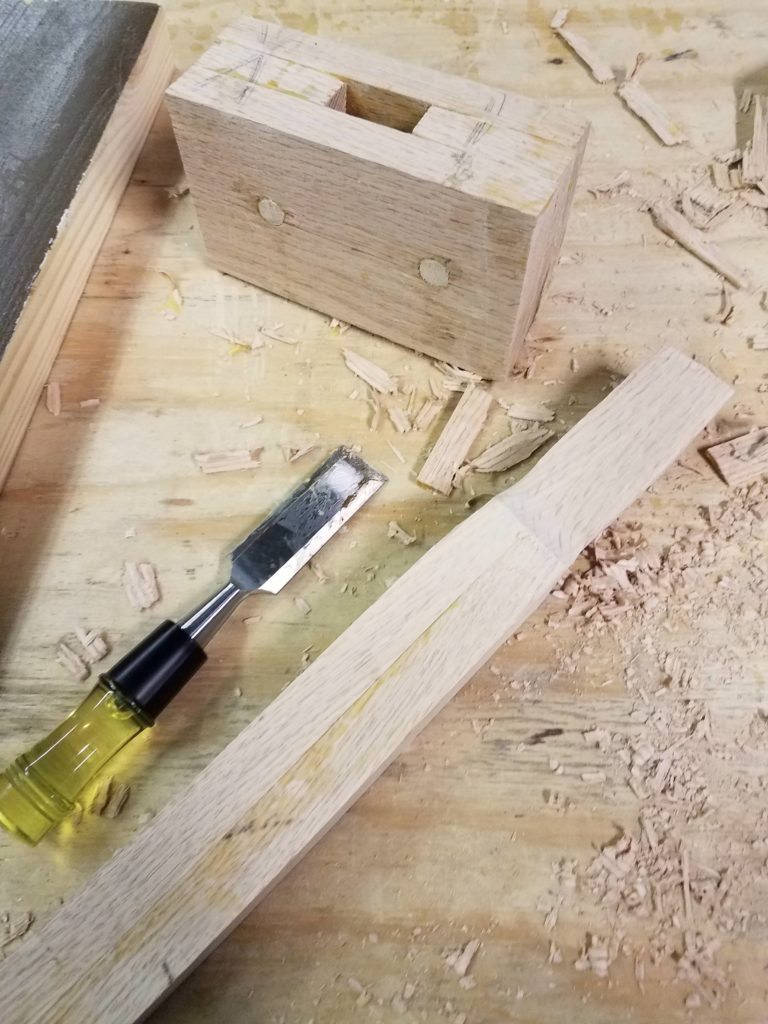
The center of the three head pieces was cut twice at 5 degree angles to leave an inside partial V shape, but not coming all the way to a point. These three layers, now four pieces, were glued up in a stack with some dowels drilled in to help align them. The dowels were not necessary, but help add a bit of visual candy, I will probably leave them off in the future.
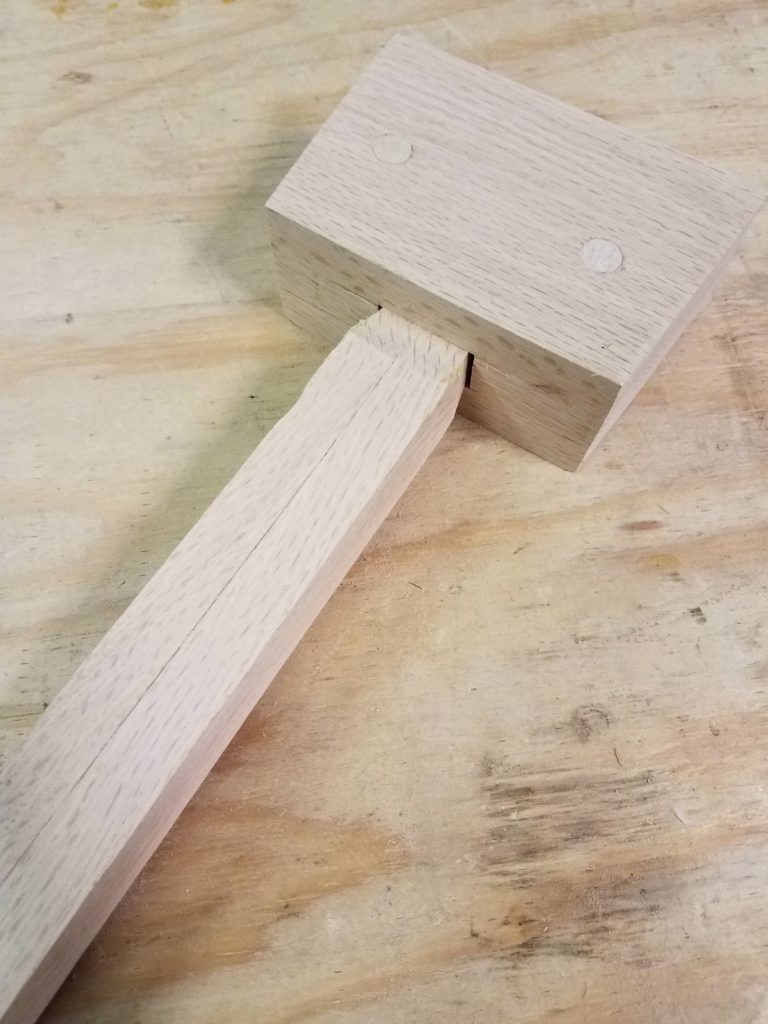
The handle was made of two pieces glued together and then chiseled down and sanded to fit in the head. The handle is much more square than I expected, but works well for me and everyone’s preference will be different.
After glueing it all together, I attached the handle with some wedges made of scrap wood. I pounded these in with a board, since I hadn’t finished the mallet yet. After that I cut the excess off with a flush cut saw and added some wood glue to help keep the wedges in.
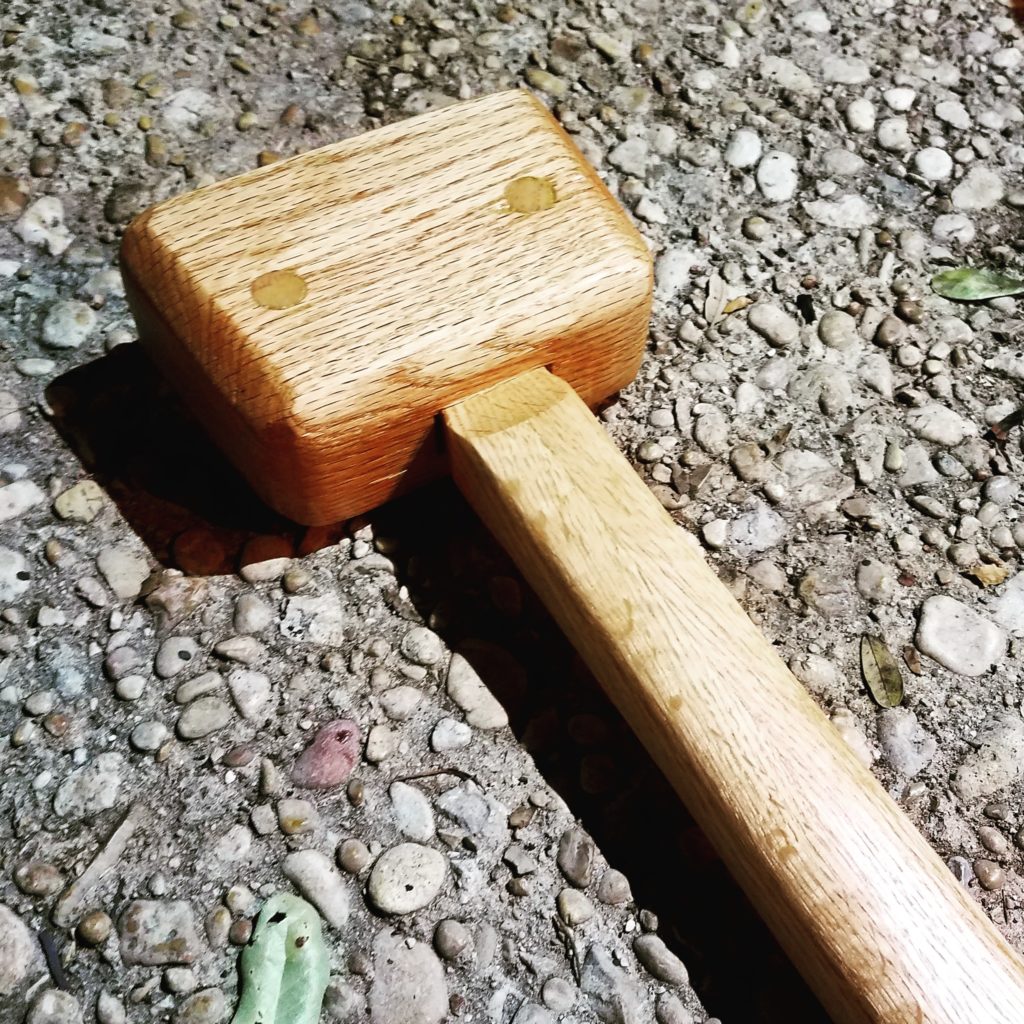
Next, I used a trim router to add the edging, which consisted of a chamfer on the head and a roundover on the handle. Then I sanded it all on a belt sander at 60grit before moving on to a random orbit sander progressively going up to 220grit.
I finished the piece by oiling it with two coats of Tung Oil which should help prevent some scars from usage and protect the wood.